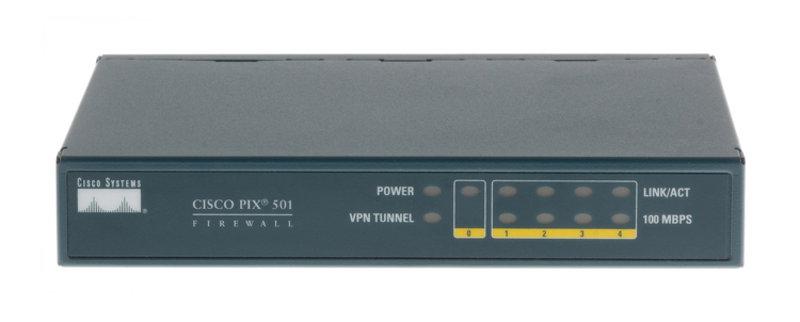
Cisco PIX 501 - VPN access without certificates to a PIX at DSL
Also home (-office) users sometimes like to access their home network via a secured VPN connection. The Cisco PIX 501 is perfect for this as it does not only acts as a router with integrated 4-port switch but in fact is a true firewall with application level gateways for various services.
Configuration of VPN access through user-/group-authentication instead of the (significantly more secure!) certificate-based authentication is pretty simple. However, to get it working at all, you should have either a fixed IP address or an account at some dynamic DNS service provider which is continuously updated.
Please notice that this a a purely private service. I do not take any responsibility for the correctness of this information nor do I support internet providers or Cisco products.
Basics
The PIX 501 supports - besides other methods - also PPPoE for the internet connections. Thus, it is well suitable for connecting to most DSL providers. A respective configuration looks like that:
vpdn group pppoe_group request dialout pppoe
vpdn group pppoe_group localname <DSL-username>
vpdn group pppoe_group ppp authentication pap
vpdn username <DSL-username> password <DSL-password> store-local
ip address outside pppoe setroute
ip verify reverse-path interface outside
mtu outside 1500
VPN basic configuration
This is a basic VPN configuration. The complete network traffic of the VPN client (including internet traffic) will be routed through the PIX. If this is not desired, “split tunnels” should be used. This user logs in with the username “intranet” and the Passwort “EXAMPLEPASSWORD”.
name 192.168.1.0 LOCALNET
name 192.168.5.0 VPN
access-list inside_outbound_nat0_acl permit ip LOCALNET 255.255.255.0 VPN 255.255.255.0
ip local pool VPNPOOL 192.168.5.1-192.168.5.254 mask 255.255.255.0
nat (inside) 0 access-list inside_outbound_nat0_acl
sysopt connection permit-ipsec
crypto ipsec transform-set ESP-AES-256-SHA esp-aes-256 esp-sha-hmac
crypto dynamic-map dynmap 10 set transform-set ESP-AES-256-SHA
crypto map mymap 10 ipsec-isakmp dynamic dynmap
crypto map mymap interface outside
isakmp enable outside
isakmp policy 10 authentication pre-share
isakmp policy 10 encryption 3des
isakmp policy 10 hash md5
isakmp policy 10 group 2
isakmp policy 10 lifetime 86400
vpngroup intranet address-pool VPNPOOL
vpngroup intranet dns-server <IP of your DNS-server>
vpngroup intranet default-domain your.domain
vpngroup intranet idle-time 1800
vpngroup intranet password EXAMPLEPASSWORD
Split tunnels
With “split tunnels” you can limit the traffic which is routed through the VPN to certain networks - as if you would set a static route. This can be desired in some cases. However, this does create a possible security flaw as the VPN client is still connected to a potentially insecure network and thus an attacker might gain access to the protected network through the client. To activate a “split tunnel”, add the following directives. This - in this example - only routes the traffic for the network 192.168.1.0/24 (“LOCALNET”) through the VPN. All other traffic will still be routed through the client’s default gateway. “your.domain” is the domain for your local network as also DNS queries are split.
access-list intranet_splitTunnelAcl permit ip LOCALNET 255.255.255.0 any
vpngroup intranet split-tunnel intranet_splitTunnelAcl
vpngroup intranet split-dns your.domain